Setting up your LeakBot device
A step-by-step guide to register and install your LeakBot device.
Setting up your LeakBot using the LeakBot app is a simple process. Follow this guide carefully.

Before You Start: Requirements
Phone Software:
- iOS devices: Requires OS version 13.4.1 or newer. Ensure all OS updates are installed.
- Android devices: Requires OS version 10 or newer. Ensure all OS updates are installed.
- Note: Check your phone settings for pending OS updates before starting.
Information Needed:
- Your LeakBot device
- Your home Wi-Fi network name (SSID)
- Your home Wi-Fi password
Get the LeakBot App
1. Open the App Store (iOS) or Play Store (Android) on your phone.
2. Search for “LeakBot”.
3. Download and install the LeakBot app.


Enable Location Services (Required for Setup)
- The app needs Location Services enabled during setup to find and connect to the LeakBot device’s temporary network. This is a requirement of the phone’s operating system.
- You will likely see a prompt asking for permission when you first open the app or start setup.
- Choose “Allow While Using App” or a similar option.
- Note: You can disable this permission in your phone’s settings after setup is complete if you wish.
Create or Log In to Your Account
First Time?
- Open the LeakBot app.
- Tap “Create Account”.
- Follow the in-app instructions (email, password, etc.).
Already Have an Account?
- Open the LeakBot app.
- Tap “Sign in”.
- Enter your existing login details.
Enter Your LeakBot ID
- After creating your account or signing in, you’ll see the “Activate LeakBot” screen.
- Enter the ID Code: Look on the back of your LeakBot device to find the ID code.
- Enter this code carefully in the field provided.
- Tap “Next” or “Continue” to proceed.
Activate LeakBot
- After entering your LeakBot ID, follow the instructions to activate your device.
- Remove Battery Tab: Remove the plastic battery tab from your LeakBot device as shown in the app.
- Tap “Next” in the app to continue.
Press the Button
- Press Green Button: Press and hold the green button on the side of the LeakBot device.
- Wait for Red LED: Continue holding until the red LED light stays on solid (not blinking).
- Continue in App: Tap “Next” in the app to proceed.
Connect Phone to LeakBot
Your phone now needs to connect directly to the LeakBot’s temporary Wi-Fi network:
On iOS:
- A pop-up will appear saying: “LeakBot” Wants to Join Wi-Fi Network “MyLeakBot-XXXX”
- Tap Join to continue.
On Android:
- A pop-up will show nearby devices.
- Find and tap on MyLeakBot-XXXX in the list.
- Tap Connect to continue.
- (Older Android versions might require you to go to Wi-Fi settings manually and select the ‘MyLeakBot-XXXX’ network)
Stay Connected
Important:
- Your phone is now connected to LeakBot’s Wi-Fi network, which has no internet connection.
- Your phone might warn you about “No Internet Connection” or ask to switch to mobile data.
- Do NOT switch away from the LeakBot network.
- Stay connected to the LeakBot network for the next step.
Troubleshooting:
If connection fails, check the Trouble connecting to the LeakBot network guide.
Connect LeakBot to Your Home Wi-Fi
- The app will now scan for available Wi-Fi networks. You might see a pop-up: “LeakBot” Would Like to Find and Connect to Devices on Your Local Network. Tap OK.
- Select Your Network: Choose your home Wi-Fi network name (SSID) from the list.
Tip: If you have multiple networks (e.g., 2.4GHz and 5GHz), choose the one closest or with the strongest signal where LeakBot will be installed (LeakBot typically uses 2.4GHz). Troubleshooting: If you don’t see your network, ensure you are close enough to your router. Check the You do not see your home Wi-Fi network link. - Enter Password: Carefully enter your home Wi-Fi password. Tap Continue.
- Connecting: LeakBot will attempt to connect to your network. This may take a minute.
- Troubleshooting: If connection fails, double-check your password. Check the Error connecting to your home Wi-Fi network link.
Locate the Correct Pipe
- LeakBot must be clipped onto your internal main water supply pipe.
- This is the pipe that brings fresh cold water into your home after any external meter and before it branches off to taps, toilets, etc.
- It’s usually where your internal shut-off valve (stopcock) is located. Turning this valve should shut off all cold water inside.
- Common locations (usually ground floor): Basement, garage, utility room, under the kitchen sink.
Choose the Right Spot on the Pipe
- Distance: Install LeakBot between 1 and 2 feet (30-60cm) along the pipe from where it first enters your property wall/floor.
- Before Branches: Crucially, place it before the pipe splits (T-junctions) to supply different areas of your home.
- Lead Pipes: If your pipe is made of lead, install slightly further along: 1.5 to 2 feet (45-60cm).
- Welled Water Supply: If you have a well and pressure tank:
- Locate the pressure tank.
- Find the main pipe coming from the well system after the T-junction that goes to the pressure tank.
- Clip LeakBot onto this main pipe, 1 to 2 feet (30-60cm) after the T-junction to the pressure tank, and before any other branches.
Position LeakBot Correctly
Orientation:
- The clip (back of the device) should face towards the outside wall where the pipe enters.
- It can be placed vertically or horizontally.
- If horizontal, try to position it sitting on top of the pipe, rather than hanging underneath.
- Remove any insulation from the section of pipe directly under where LeakBot is clipped. Insulation can interfere with temperature readings.
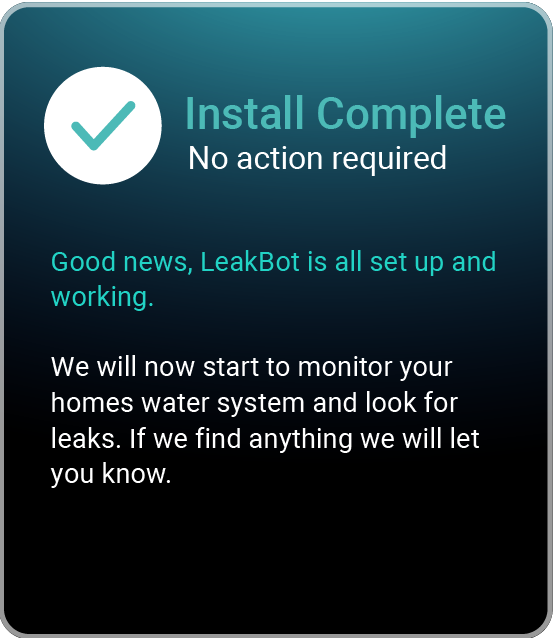
Final Checks in App
- Follow any final confirmation steps in the LeakBot app.
- The app should display a confirmation message that installation is complete.
- LeakBot will now begin monitoring your water system for leaks.
- You’ll receive notifications through the app if any issues are detected.
Useful Information
Pipe Size
LeakBot fits standard UK/EU pipe sizes (e.g., 15mm, 22mm) and US sizes (e.g., 3/4 inch, 1 inch). The clip is not adjustable.
Pipe Material
Works on copper, plastic (PEX, PVC, etc.), lead, and stainless steel.
Pipe Insulation
Remove any insulation from the section of pipe directly under where LeakBot is clipped. Insulation can interfere with temperature readings.
Limited Access
If the pipe is boxed in or behind a wall, you may need to create access to clip LeakBot correctly onto the main supply line in the specified location.
Need Help? Visit leakbot.io/support or contact support via the app.
Trouble connecting to the LeakBot network
LeakBot starts a local wireless access point for the phone to connect to it. This will enable the LeakBot app to configure the LeakBot device. This operation of connecting to the LeakBot network is the same as connecting your phone to any other wireless network.
There can be a few reasons why your phone may struggle to connect to this network:
- Ensure location services permission is enabled for this app and restart the install process.
- Enabling location services for the app
- Ensure there are no VPNs on the phone that are enabled. This may block the phone from connecting to the LeakBot network.
- Turn off mobile data for the duration of the device install & ensure your phone is connected to the home wifi network before starting the device install process.
Please check to make sure all OS pending updates are installed on the phone.
Wi-Fi is not listed? Or the network list page is blank?
- First tap “Look again” a couple of times to see if the network list is displayed
- Ensure location services permission is enabled for the app.
- When a pop-up to request access for MyLeakbot network to allow to view local networks, please allow.
- Try disabling mobile data for the duration of the install.
Error connecting to your home wi-fi network?
- The most common problem could be the home wi-fi network password. Ensure there are no typos and no spaces at the end.
- The LeakBot device can only connect to a 2.4Ghz wireless network with wireless mode of b/g/n (mixed mode). Please check your router settings to ensure this is configured for the LeakBot device to communicate with it.
- If there are any security settings like firewalls or mac address filtering then they need to be configured to allow Leakbot device to communicate with the router & get internet.
Need Help? Visit leakbot.io/support or contact support via the app.
Enabling location services for the app
When you use the LeakBot app to either install or reconnect your LeakBot device you will be prompted to to enable location services for the app. Please choose the “Allow While Using App” option to let the app access your location.
This permission is required by the app to install your LeakBot device to your home network. You can disable this option once you have completed setting up your device.
How to enable location services for the app from phone settings:
In case you did not allow the permission for location services before you can change this permission from the phone settings.
iOS devices:
- You will find location services in Settings -> Privacy -> Location services. Toggle the slider to enable this service.
- Under this “Location services” page you will find all the apps installed on your phone.
- Please scroll down to choose “LeakBot”
- Choose “While Using the App” from the list of options available as shown below.
Android devices:
- You will find location services in Settings -> Location. Toggle the slider next “Use location” to enable this service.
- And from the same screen tap on “App access to location”. This will list all the apps installed on your phone.
- Choose “LeakBot” app from the list & select the option “Allow only while using the app”
Need Help? Visit leakbot.io/support or contact support via the app.


